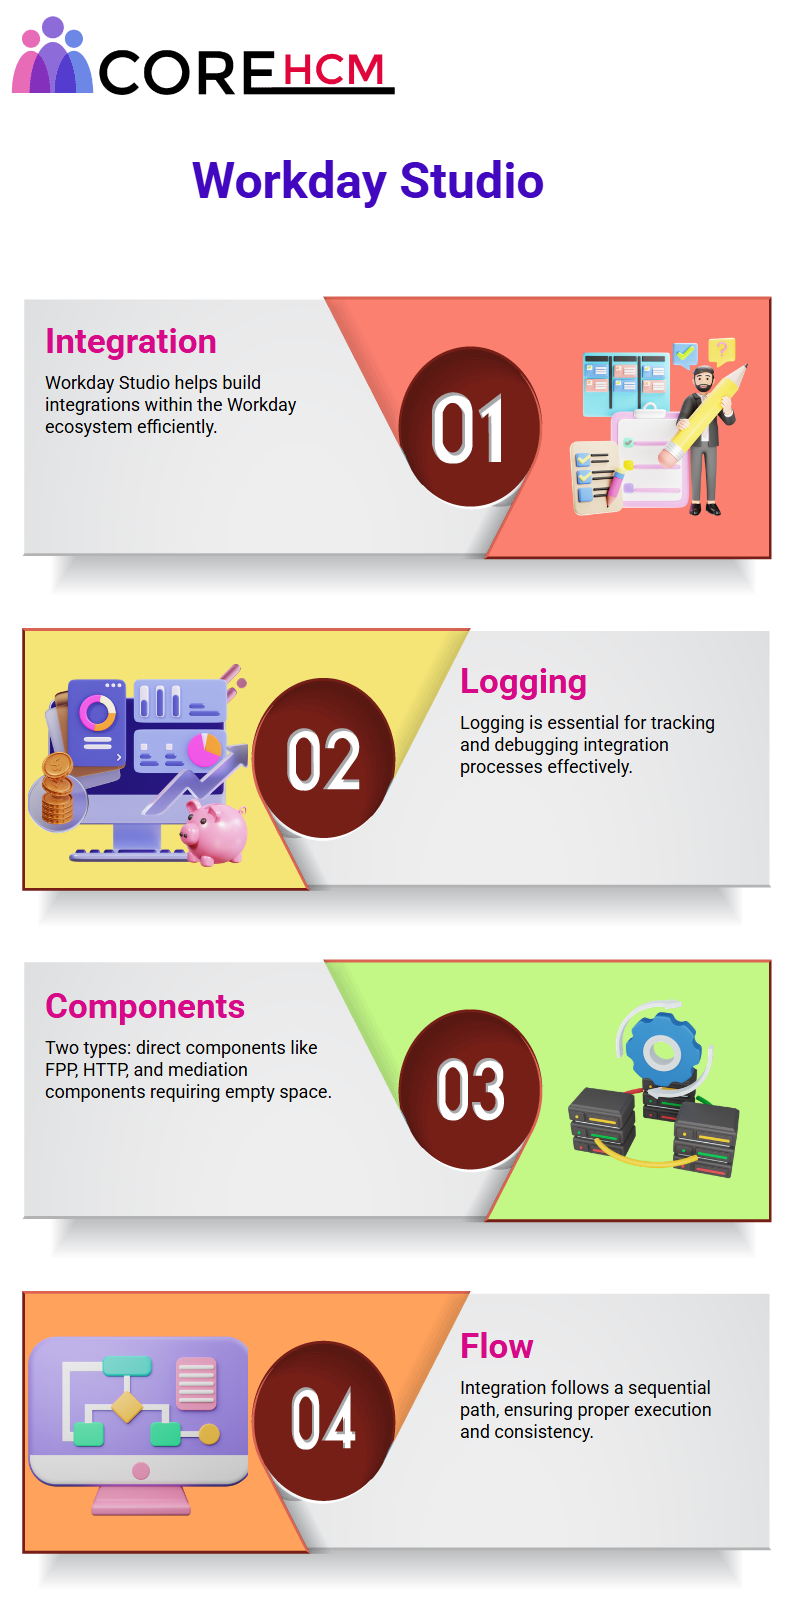
Workday Studio is an indispensable resource for building integrations within the Workday ecosystem, including integrations logging.
Logging plays an indispensable part in tracking and debugging processes. Workday Studio contains two kinds of components that can be directly dropped, like FPP and HTTP.
Those which require an empty space such as log; for these we utilize mediation components like async mediation to allow direct placement.
Integration Flow in Workday Studio
At Workday Studio, integration follows an orderly path starting with the start component and progressing through various components until finally arriving at its final goal of “put integration message”.
Once integration has taken place, messages recirculate through all components in reverse order for consistency and proper execution of each task.
This ensures data consistency, many professionals opt for enrolling in a Workday Studio course in Hyderabad to grasp this flow effectively.
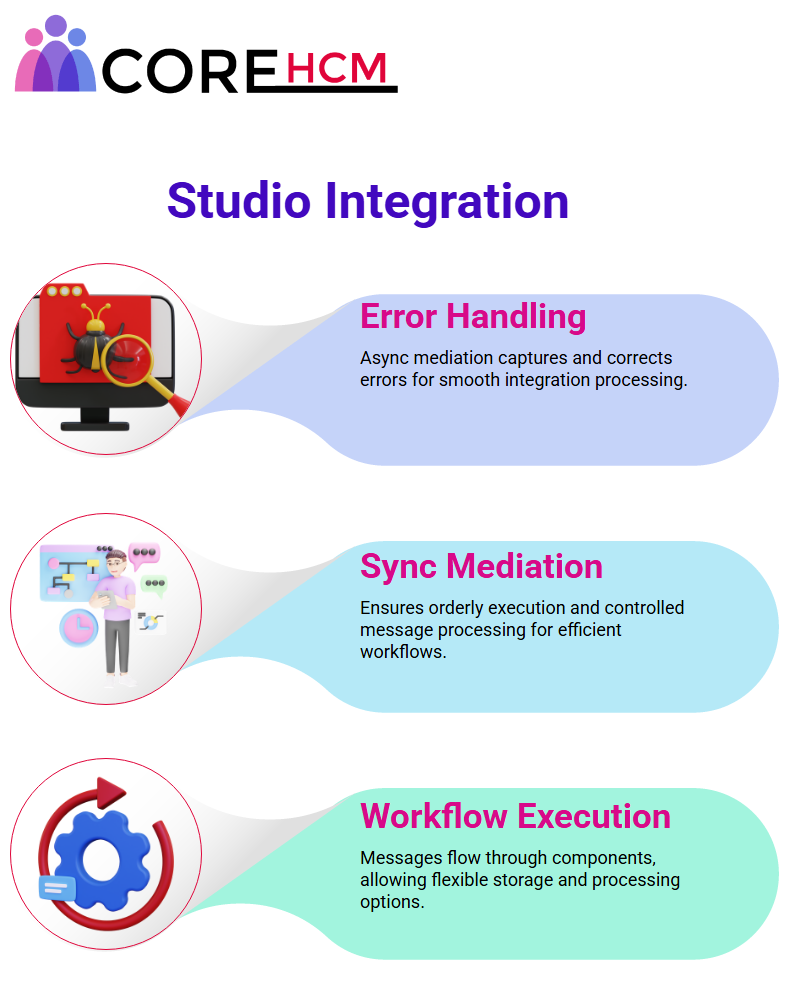
Error Handling in Workday Studio
Error handling is an integral component of Workday Studio integrations. If an error arises in async mediation due to incorrect syntax, messages do not progress further but instead flow backward, ending prematurely the process.
However, with async mediation’s error handler in place, errors will be caught quickly and corrected before continuing their journey.
Workday Studio Synchronization
Workday Studio also supports sync mediation, which follows similar principles but handles messages differently.
Sync mediation ensures an orderly execution while permitting controlled message processing.
Understanding how async and sync mediation operate allows developers to optimize Workday Studio integrations for efficient data flow and error handling.
Workday Studio Workflow Execution
With Workday Studio’s message processing capability comes an effortless yet customizable flow – think about an email arriving, reaching an individual component for execution before moving along its course before heading onward to its next step.
After sending out an “integration message”, for instance, the sync mediation component can capture it and allow you to store or process it further – giving you complete flexibility on how you manage these processes.
For individuals keen on real-time applications, a Workday Studio course in Hyderabad provides hands-on guidance.
Customizing Mediation in Workday Studio
In Workday Studio, if the message needs to complete tasks after its ‘put integration message,’ an additional asynchronous mediation can be added for that message.
This method streamlines the process, enabling you to efficiently tailor operations according to personal needs and specifications.
Some developers favor asynchronous mediation while others rely on synchronous. Whatever your preference may be, Workday Studio gives you the flexibility to design workflows in ways that meet your integration requirements.
Similar to programming languages such as Java or C#, people approach Workday Studio differently; each method may offer its own benefits.
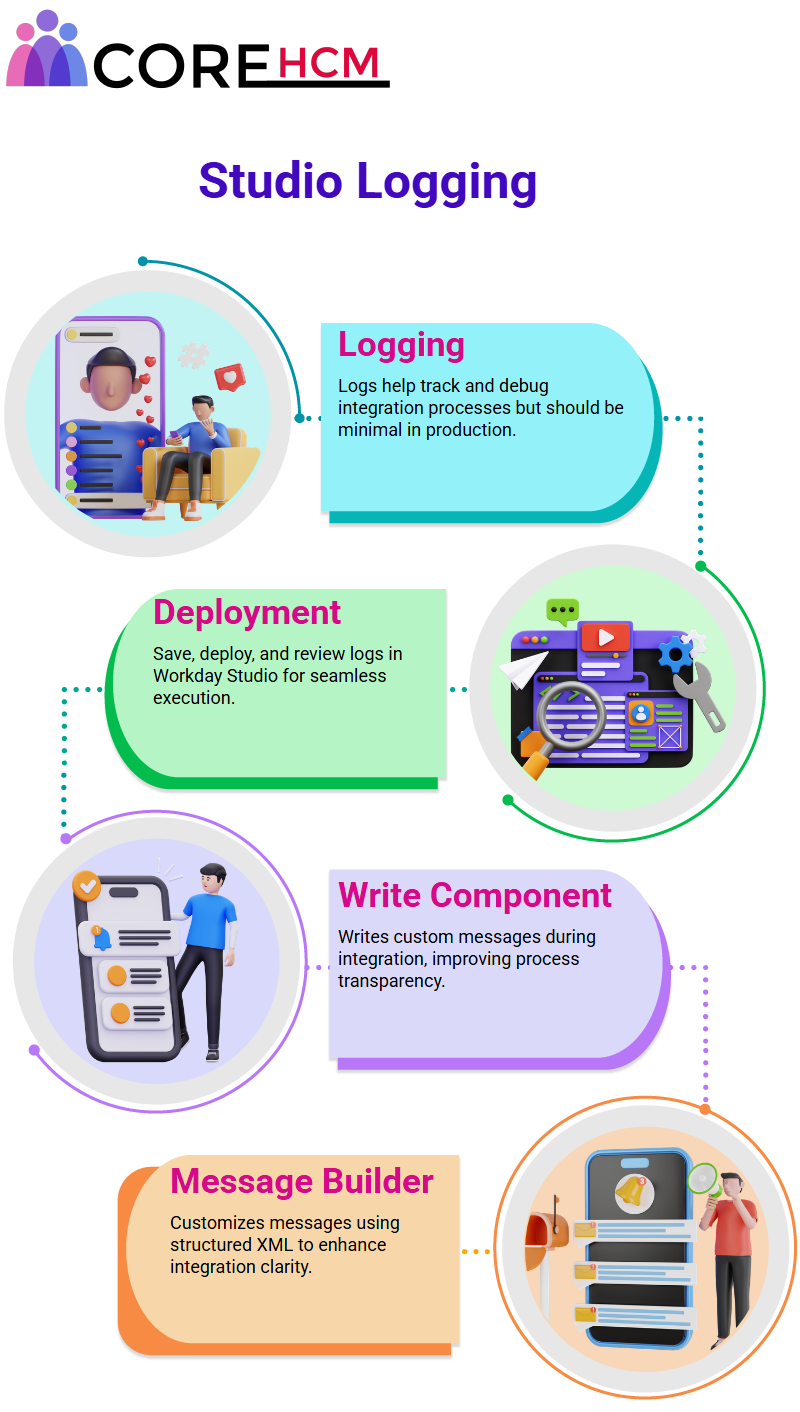
Workday Studio Logging
Logs play an integral part of Workday Studio development. By using its Log Component, users can view messages at each step in their process by simply clicking a component, opening its properties page and reviewing its message content.
Logs can be invaluable tools during development for debugging and tracking purposes; however, their overuse should not be done during production as too many log files might cause performance issues.
Nonetheless they remain an invaluable way of monitoring variable values as well as making sure integration processes go smoothly.
Those who attend a Workday Studio course in Hyderabad learn best practices around efficient logging.
Deploying and Testing in Workday Studio
After setting up logs, it’s time to save and deploy them using Workday Studio. Your setup may either take place from within Workday Studio itself or via its front-end interface; once deployed, Workday Studio takes over seamlessly to complete its deployment process without further interruption from you.
Double-clicking any deployed component gives you access to its log file, providing a clear picture of integration name, username and all triggered components.
Workday Studio's Write Component
Within Workday Studio, the Write Component plays an essential part. As its name implies, this component writes directly into your message using any input received from previous components.
Its output simply displays your customized message content – this feature becomes essential when customizing messages during integration processes.
Configuring Workday Studio's Message Builder
Workday Studio’s Message Builder makes it possible to customize message content according to your individual requirements, for instance removing unnecessary default content and replacing it with structured XML messages containing root, data or employee ID fields.
Once configured, message content becomes part of a log, providing an organized output.
Logging at Each Step in Workday Studio
A good practice when using Workday Studio should include recording message content at every significant step, for instance after deploying integration, recording the initial message can help avoid future confusion.
Following that, use the Write Component to modify and log any message updates; this step-by-step logging ensures transparency and clarity during your integration process.
One benefit of a Workday Studio course in Hyderabad is getting hands-on exposure to real-life logging scenarios.
Workday Studio Provides Advanced Options
Workday Studio features advanced options like the Message Root Part to assist users in customizing logging processes to meet individual needs and optimize Workday Studio usage for greater productivity and success.
By understanding and taking advantage of its advanced features, users can streamline workflow while making more out of Workday Studio’s capabilities.
Workday Studio Variables
Working in Workday Studio often necessitates managing message content efficiently. Take, for instance, managing an integration where an XML message arrives after the process has started.
Ast that moment, its contents can be saved into variables for further use within Workday Studio for monitoring and processing actions taken within this environment.
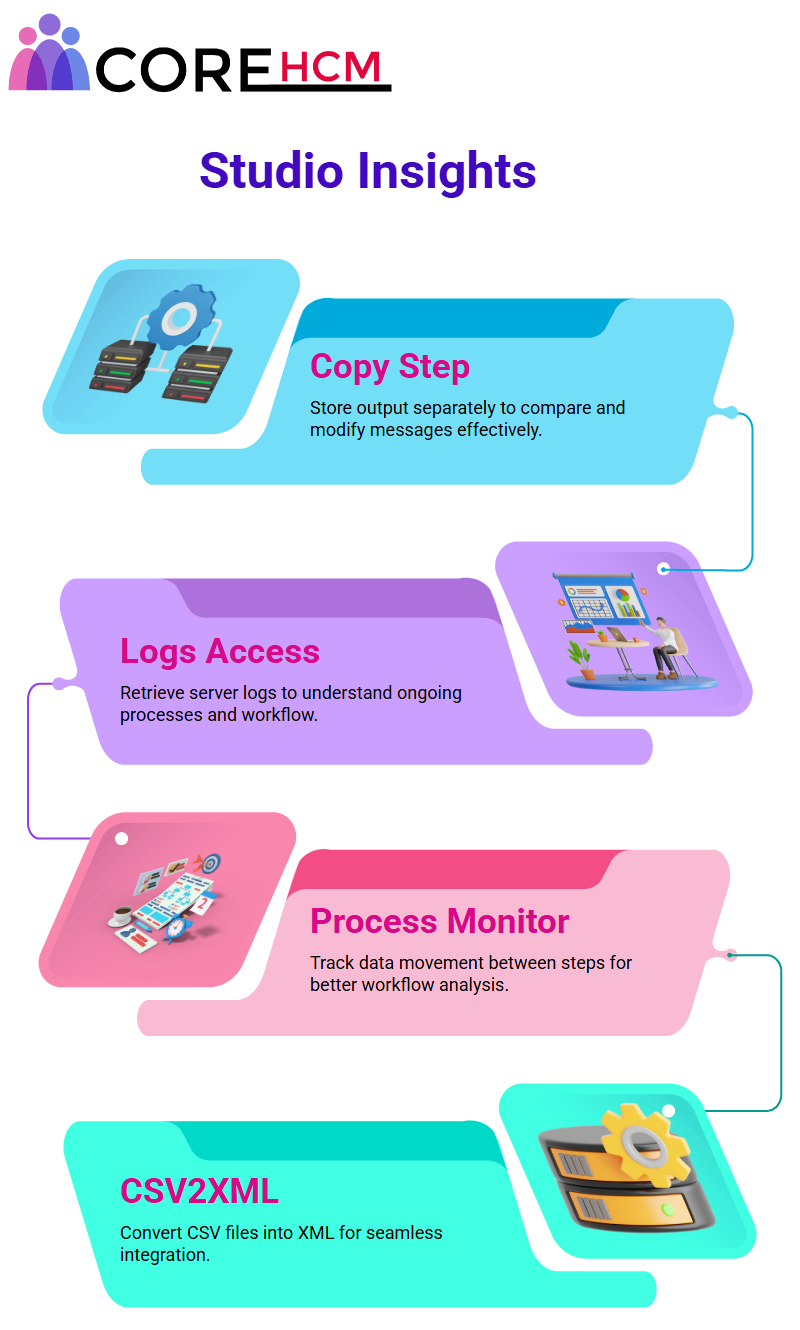
Workday Studio features an effective step called the ‘copy step.’ Here you can specify both an input message and output variable – for instance we could name this variable “data”.
By doing so, this variable now stores message content which can then be reused later as needed.
Workday Studio Log Behavior
Logs in Workday Studio can be intriguingly perplexing. When logging a message, Workday simply prints its original form without alteration; thus, if two logs use identical input messages they will both display identical outputs – which makes for effective debugging or monitoring integrations within Workday Studio.
However, we often require access to or modification of the original message instead of its log version.
When this occurs, storing its copy through copy step becomes essential – by doing so, ensure the original remains undisturbed so it can be modified at any stage in the process.
People interested in mastering this concept often look to a Workday Studio course in Hyderabad for structured learning.
Setting Up Variables in Workday Studio
The versatility of Workday Studio when it comes to assigning variables. By visiting its ‘show property view’ and making adjustments in its comment tab for input/output settings of any component in its comment tab (i.e. converting input data to variables with names like ‘data,’ As an example, in a copy step set the input as message and output as variable named ‘data’).
This action allows us to store content from an incoming message into this variable.
later it can refer back to its original state regardless of any changes that subsequent steps make to its message content.
Workday Studio Advanced Steps
In Workday Studio, we often utilize the copy step creatively. For instance, we can create an additional variable called ‘data Tool” to store output of another step while keeping its original message available via ‘data.”
Having two variables allows me to compare results or take actions on both original and modified messages at the same time.
Enthusiasts pursuing a Workday Studio course in Hyderabad find such advanced techniques invaluable for complex integration tasks.
Understanding Workday Studio Logs
Let’s Explore Workday Studio’s various components step-by-step. Picture working with the “Retrieve Log Files” button – once clicked and selected “Okay,” server logs will display.
These logs contain essential details regarding what processes are taking place within Workday Studio and understanding their significance will help provide insight into its workings.
Process Monitors in Workday Studio play an invaluable role. They allow us to witness how data moves between steps, particularly those using Start Here and Root components, and it’s captivating seeing this output manifest itself via Variable Data Tool – unlike messages which only store updates within certain steps but preserve original messages as log entries.
Tracking CSV2XML in Workday Studio
Let’s dive in! One of my favourite components in Workday Studio is CSV2 XML, which transforms CSV files to XML formats for seamless integration into Workday.
Incorporating logs prior and after conversion helps confirm its effectiveness within Workday. Whether you’re just starting or looking to upskill, a Workday Studio course in Hyderabad can help unlock these capabilities with hands-on sessions.
Customizing Outputs in Workday Studio
Workday Studio makes customizing our outputs possible as well. For instance, by tweaking the ‘First Line as Header’ property you can specify whether or not the first row in your CSV file should be treated as data instead.
Workday Studio then will recognize this property correctly and organize XML output accordingly – giving us more flexible yet powerful data handling capability within Workday.
A Workday Studio course in Hyderabad provides practical insights into leveraging these properties efficiently.
Understanding Workday Studio Components
Workday Studio makes integration easy: simply toggle any property to True and take immediate action without overthinking.
Need some assistance figuring this all out? Simply click Help for guidance they walk through all properties available within Workday Studio components.
Let’s say you want to master these toggles and settings many professionals opt for a Workday Studio course in Hyderabad to gain hands-on expertise.
Let’s deploy and see what happens: the status changes to Active or Completed as soon as the task has been deployed and opened in Workday Studio; its tags update accordingly and can show you exactly how they changed.
Transforming Data with Workday Studio
Before, tag names were set as column one and column two names; now though Workday Studio has taken an intelligent step; its adjustment of tag names matches employee ID’s. This comes about because we enabled “Use First Row as Header”, meaning Workday Studio automatically applies header tags from column 1 on row 1.
Those who’ve taken a Workday Studio course in Hyderabad often cite this transformation logic as a highlight of their training.
Workday Studio excels when it comes to performing this transformation in reverse, too! Our XML-to-JSON and JSON-to-XML components seamlessly convert data formats.
Enrolling in a Workday Studio course in Hyderabad helps participants implement such bidirectional data transformations with ease.